10 Beginner Crochet Mistakes and How to Fix Them
Learning to crochet is exciting. It also comes with its fair share of trial and error. Every beginner makes mistakes, and that’s completely normal. Nobody skips this part. The good news is that most crochet mistakes are pretty easy to fix once you know what you’re looking for.
If your projects keep curling, your edges won’t sit straight, or your stitches never quite look right no matter what you try, don’t stress about it. These are problems every crocheter runs into at some point.
In this guide I’ll walk through 10 beginner crochet mistakes and show you exactly how to fix each one. These simple tips will help you crochet with a lot more confidence, improve how your stitches look, and make the whole process a lot more enjoyable along the way.
Table of Contents
1. Making Tension That’s Too Tight or Too Loose
Tension is among the biggest hurdles for beginners, and it really just comes down to how tightly or loosely you’re holding the yarn while you work.
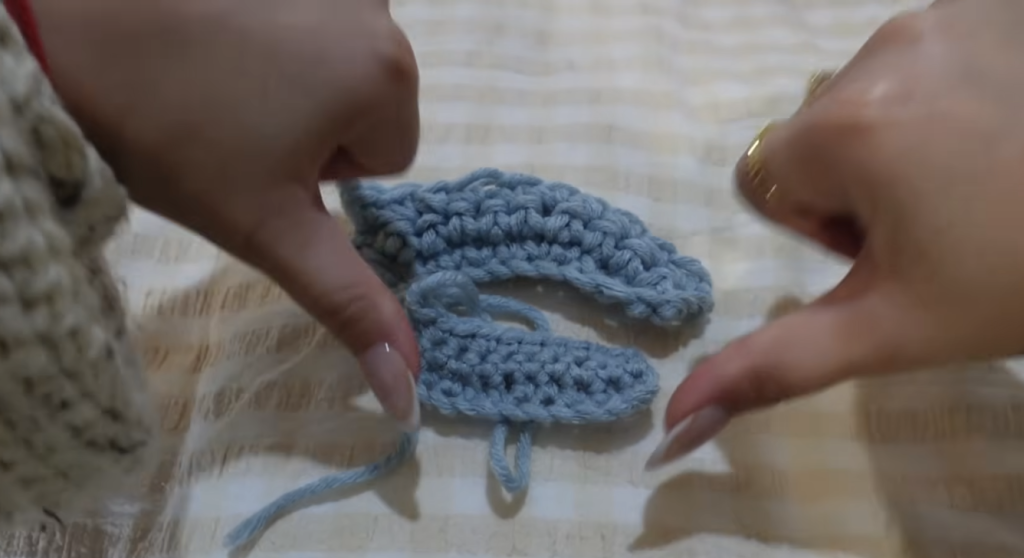
If your tension is too tight, your stitches end up small and stiff. Your hook basically feels like it’s fighting you, and getting it into each stitch turns into a genuine struggle.
Go too loose the other direction, and your fabric can end up floppy, stretched out, or full of gaps you didn’t mean to leave. Loose stitches also make it harder to count accurately since everything starts blending together and looking uneven.
How to Fix It
The goal here is finding a comfortable middle ground that works for your hands specifically.
Spend a bit of time practicing a few rows without worrying about whether it turns into an actual finished project. Pay attention to how you’re holding both your hook and your yarn while you go.
Ask yourself a few things. Are you pulling the yarn tighter than you need to? Is it slipping too freely through your fingers? Are your stitches roughly the same size as each other?
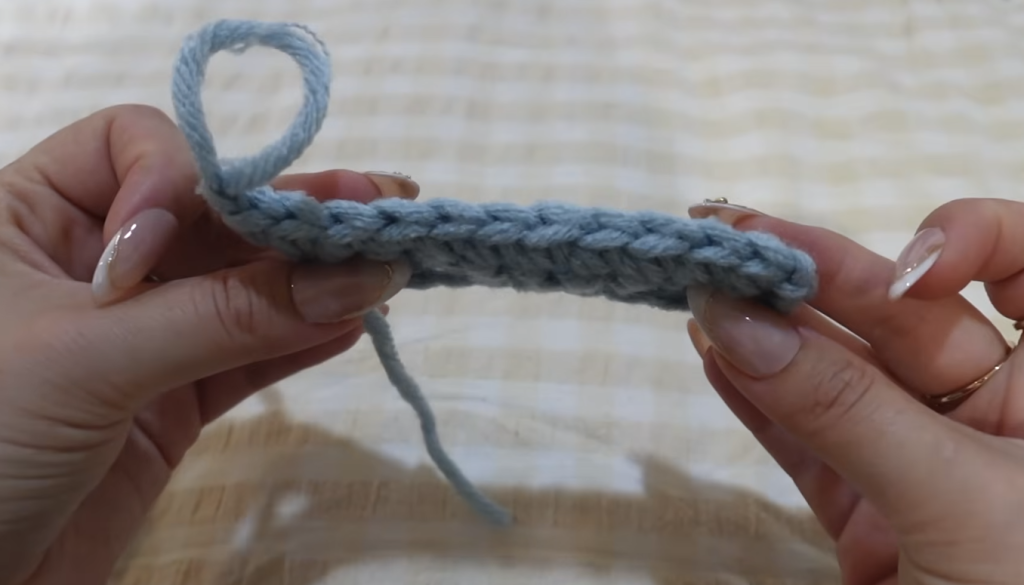
Crocheting a small gauge swatch can also help you see clearly whether your stitches look even or not. With regular practice your hands will naturally settle into a consistent tension, and eventually you won’t even have to think about it anymore.
2. Not Counting Your Stitches
Counting stitches sounds like a boring, tedious step, but it saves you from a lot of frustration down the line.
It’s surprisingly easy to accidentally add an extra stitch or skip one entirely, especially if you’re watching TV or chatting with someone while you crochet, which let’s be honest is most of the time.
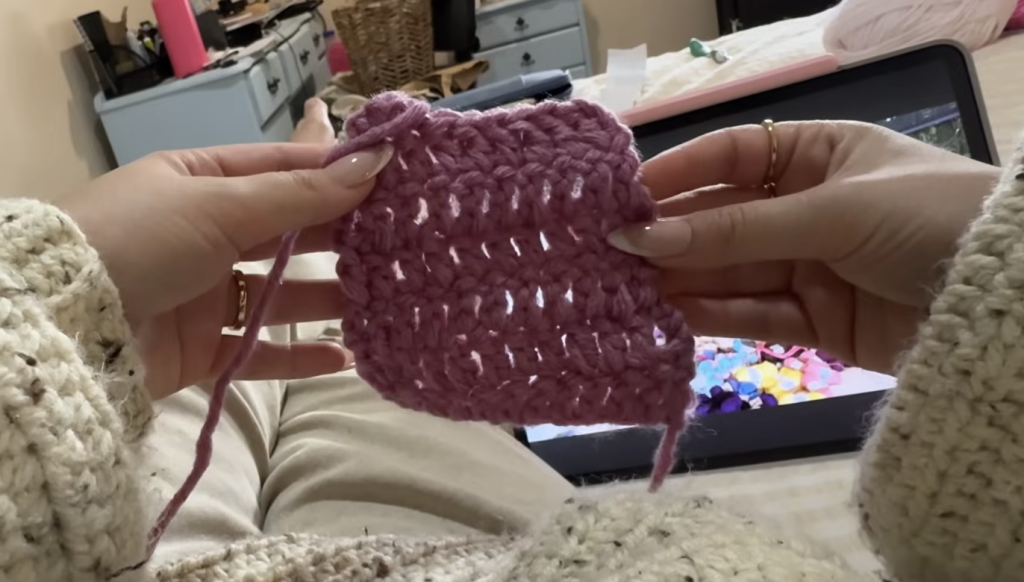
A project that starts out as a neat rectangle can slowly morph into a triangle without you ever realizing what went wrong or when it happened.
How to Fix It
Make counting your stitches a genuine habit.
For beginners, counting at the end of every single row is a smart move. Once you’re more comfortable, you can space it out to every few rows instead.
Stitch markers make this considerably easier. Place one every 10 stitches if that helps you track things. Mark the last stitch of every row so you always know where you are. Double check your stitch count before starting the next row rather than assuming everything’s fine.
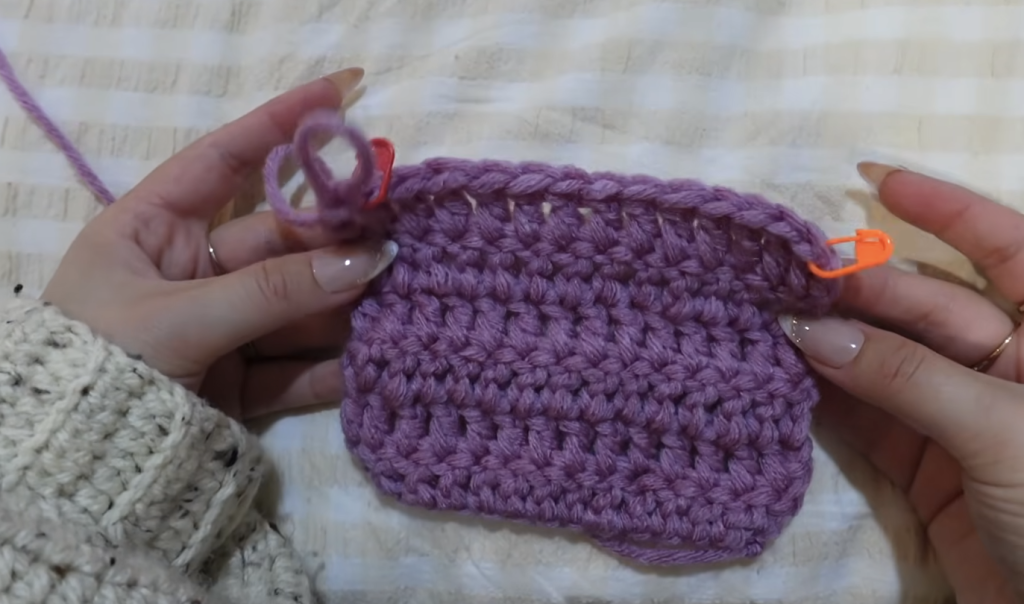
A few seconds spent counting can save you hours of frogging your work later on.
3. Using the Wrong Crochet Hook Size
Most beginners buy one crochet hook and just use it for absolutely every project they attempt.
Unfortunately, not every yarn pairs well with the same hook size, and mismatching them causes real problems.
A hook that’s too small for bulky yarn creates extremely tight stitches that are difficult to work into afterward. Your hook might even split the yarn instead of sliding through it smoothly like it should.
Go the other way and use a hook that’s too large for fine yarn, and you end up with oversized stitches and noticeable gaps all through the fabric.
How to Fix It
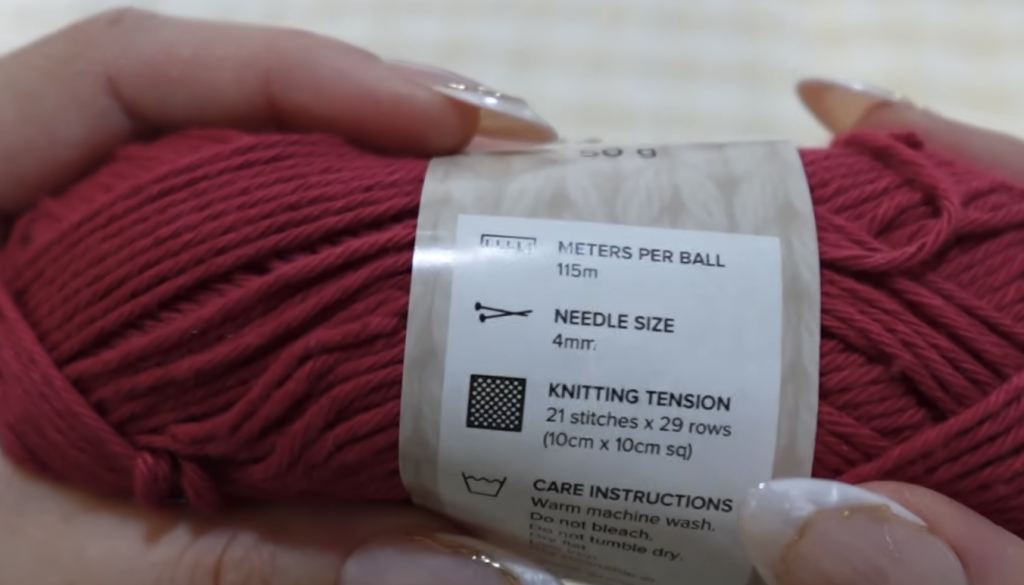
Always check the yarn label before you start a new project.
Most labels recommend an appropriate hook size right on the packaging, and that recommendation gives you a solid starting point.
If your stitches naturally come out on the tight side, try moving up to a slightly larger hook. If they’re consistently loose instead, drop down to a smaller one.
As your skills grow, you’ll start to understand when it makes sense to deviate from the label, but following it is usually the safest bet while you’re still learning the ropes.
4. Making Your Foundation Chain Too Tight
Your foundation chain sets the tone for the entire rest of your project, so it’s worth getting right early on.
If it’s too tight, your finished piece can curl inward, pucker along the edge, or become difficult to crochet into properly.
A lot of beginners don’t even notice they’ve made this mistake until they’re several rows deep and wondering why nothing’s lying flat.
How to Fix It
Try making your foundation chain a bit looser than feels instinctively natural to you.
There’s no rush with this step. Taking your time here makes the rest of the project so much easier down the line.
If you tend to crochet tightly by nature, a helpful trick is using a hook one size larger just for the foundation chain itself. Once the chain’s done, switch back to your regular hook size before starting Row 1.
This creates a much more flexible edge that lets the whole project lay flat instead of curling up on you.
5. Avoiding Crochet Patterns and Symbols
Written crochet patterns can look intimidating the first time you glance at one.
You’ll run into abbreviations like ch, sc, hdc, dc, and sl st scattered throughout, and you might also come across symbol charts that look downright confusing if you’ve never worked with one before.
But here’s the thing, learning these basics opens the door to thousands of amazing crochet patterns you’d otherwise have to skip entirely.
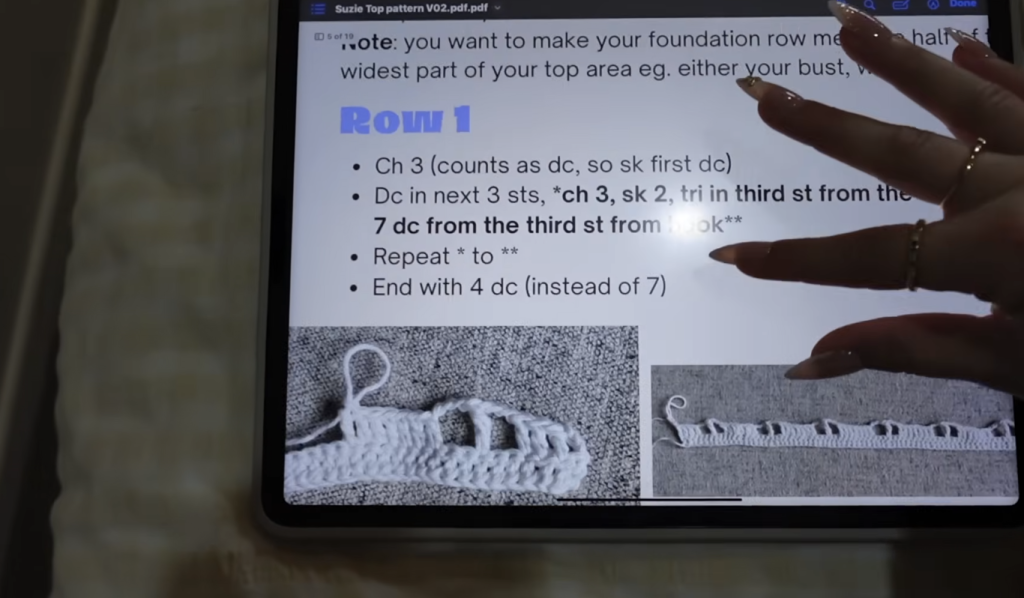
How to Fix It
Start by learning the most common abbreviations rather than trying to memorize everything all at once, which just leads to overwhelm.
Practice reading simple patterns alongside whatever project you’re working on at the time.
It also helps to get familiar with basic crochet chart symbols since a lot of international patterns rely on diagrams instead of written instructions entirely.
The more patterns you read through, the easier they become to understand.
6. Pulling Yarn from the Outside of the Skein
Some people automatically start crocheting by pulling yarn straight from the outside of the skein without giving it a second thought.
This works fine technically, but it often causes the skein to roll across the floor, unwind unexpectedly, and turn into a tangled mess before you know it.
How to Fix It
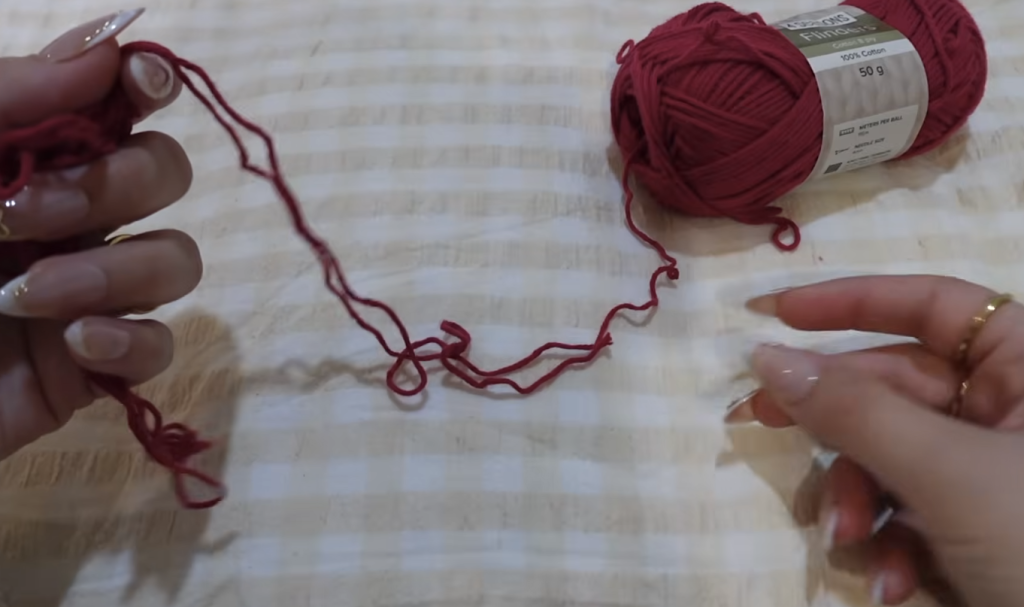
Whenever you can, use the centre-pull end of the skein instead.
Most modern skeins are designed with a centre-pull option built in, which keeps the yarn feeding smoothly while the skein itself stays put in one spot.
Every so often you’ll run into what’s commonly called “yarn barf,” where a big clump of yarn suddenly comes out from the centre all at once. It looks like a genuine mess when it happens, but it’s completely normal and pretty easy to untangle with a bit of patience.
7. Choosing Splitty Yarn as a Beginner
Some yarns naturally split into individual strands while you’re working with them.
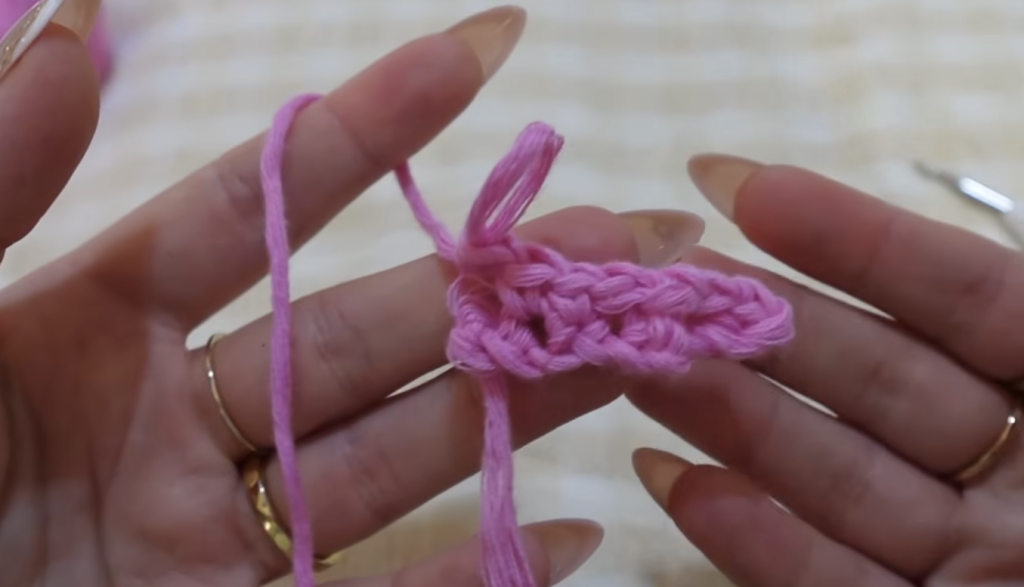
Instead of your hook passing cleanly through a stitch, it catches only part of the yarn strand, which creates messy stitches that usually need to be undone and redone.
This is called splitty yarn, and it makes learning to crochet harder than it needs to be.
How to Fix It
Start out with smooth, tightly spun yarn that holds together well.
Good beginner-friendly options include but not limited to acrylic yarn, acrylic-cotton blends, and smooth worsted-weight yarn. These glide easily over the hook and make it a lot easier to see your stitches as you go.
Very soft bamboo yarn, loosely spun cotton, and other delicate fibres can be wonderful to work with later on, but they usually demand better hook control and more experience than a beginner has yet.
8. Starting Too Many Crochet Projects
It’s easy to get swept up after scrolling through dozens of beautiful crochet patterns online.
One day you’re making a sweater. The next day you’re starting a hat. Then a bag. Then an amigurumi toy. Before you know it, you’ve got several unfinished projects scattered around the house.
How to Fix It
Try limiting yourself to one to three active projects running at the same time.
Actually, finishing projects builds real confidence and gives you a sense of accomplishment that half-finished piles never will.
If you spot another pattern you’d love to try, write it down instead of jumping straight in. Keeping a project wish list helps you stay organized while still giving you something exciting to look forward to once your current project is done.
It’s also worth asking yourself whether you’ll use the finished item. Crocheting with a bit of intention tends to lead to projects you’re proud to keep or gift, rather than ones that just gather dust.
9. Being Too Hard on Yourself
Every single crocheter makes mistakes.
Even people who’ve been crocheting for years still occasionally frog entire rows, wrestle with their tension, or redo sections that just don’t look right the first time.
Comparing your own work to someone who’s been doing this for a decade isn’t fair to yourself. Everyone starts out exactly where you are right now.
How to Fix It
Give yourself real permission to be learning this.
Every uneven stitch teaches you something, even if it doesn’t feel that way in the moment. Every finished project helps sharpen your skills a bit more than the last one did.
Instead of chasing perfection, focus on steady progress instead. With each new project your stitch consistency, your speed, and your overall confidence will naturally improve without you having to force it.
Remember that practice, not perfection, is what creates beautiful crochet work over time.
10. Skipping Blocking After Finishing Your Project
Blocking is an overlooked finishing step in the whole crochet process.
Beginners finish a project and just assume it’s done, even if it looks a bit stiff, uneven, or slightly misshapen sitting there.
In reality, blocking can transform how a finished piece looks and feels.
How to Fix It
The blocking method you use really depends on the fibre you worked with.
For most cotton projects, wet blocking works well. Here’s a simple version of the process. Soak your finished project in warm water. Gently squeeze out the excess without twisting or wringing the fabric. Roll the project up inside a clean towel and press down firmly to pull out more moisture. Lay it flat on blocking mats, a spare towel, or even a piece of cardboard. Shape it to the correct dimensions and pin it in place if that’s needed. Let it dry completely before removing any pins.
For acrylic yarns, steam blocking is usually recommended instead of the wet method.
Blocking helps even out your stitches, improves how the fabric drapes, softens everything up a bit, and gives your finished project a considerably more polished, professional look overall.
Final Thoughts
Making mistakes is part of the learning process to crochet, there’s no way around that.
Every crocheter out there has dealt with uneven tension at some point, forgotten to count their stitches, grabbed the wrong hook size, or started more projects than they could realistically finish. What matters is catching these mistakes early before they turn into frustrating habits that follow you into every future project.
As you keep practicing, your stitches will become more consistent, reading patterns will start to feel a lot less intimidating, and finishing a project will become rewarding rather than dreadful.
Take your time, enjoy the learning process as it happens, and don’t be afraid to undo a few rows when something’s not quite right. Every single project teaches you something new along the way, and before too long you’ll be amazed at how far your crochet skills have come.